

This project was the continuation of an expansion box that a customer wanted a complete redesign of. I was excited to be put on this project because it involved industrial design, resulting in a tangible product I could deliver to customers.
While working on this project I learned a ton about creating an assembly meant for manufacturing, including how the plastic injection molding process works and how to design with that in mind. Understanding design for assembly (DFA) was necessary for this project and performing tolerance stackups allowed me to design the assembly snugly while having functionality still present. This project was also my first time creating a master model, which was really fun and a useful skill to have in my toolbox.
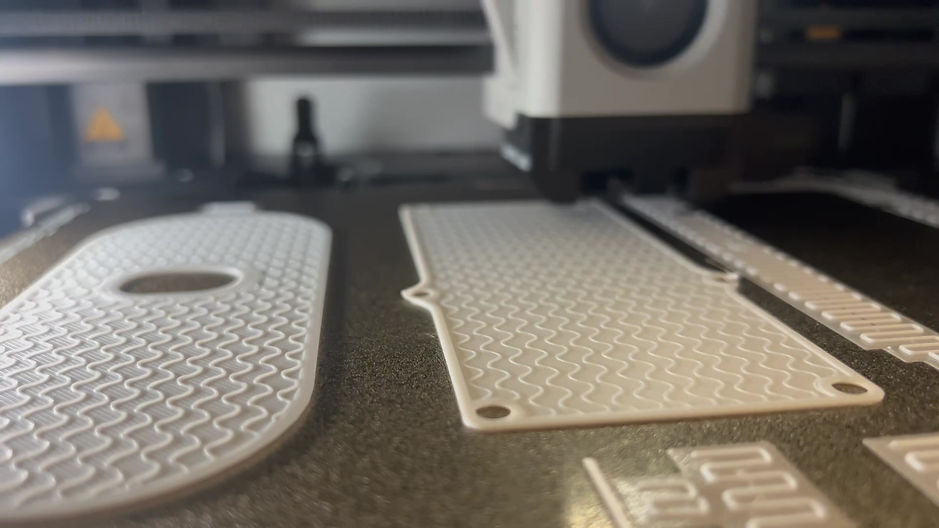
The first step of this project was to design a prototype box for the expansion port, integrating the design with the larger body of the chassis it fit into. I 3D printed my initial design and inserted it into the chassis to see what changes to make in the next design.


I spent some time making the design a little sleeker, moving holes for hardware so that I could reduce the size, and increasing the angle on the bevel to make it look sharper. I also designed a backplate that filled the space behind the oval. The backplate needed a slight curve on it to fit the profile of the chassis.
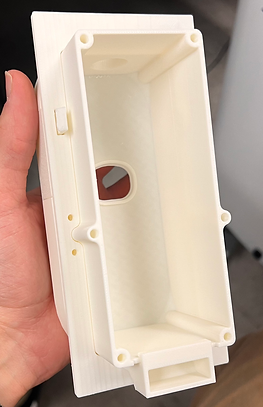

After getting a better feel for the insert in the chassis, I saw some further improvements I could make to the expansion box. The biggest item I needed to take care of was the buttons. If there are multiple of these units in the chassis, it would be very difficult to take them out when side by side with its current buttons. Also, the backplate which fills in the empty space looked odd when the box wasn't inserted. I needed to change the design so that if the box wasn't inserted, we could put a plate there to fill in the space.
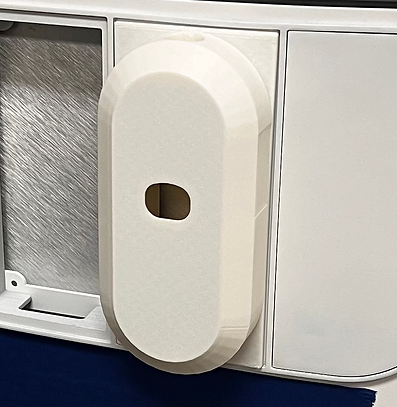
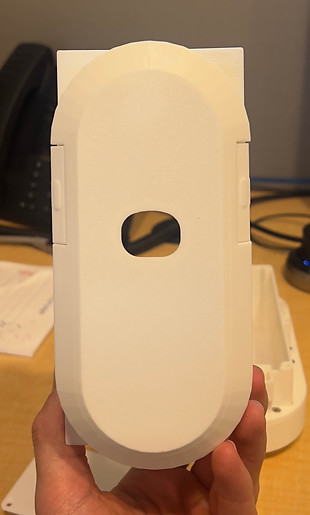
After a couple more iterations and test prints, I had a final version of the expansion box. The buttons were updated to be accessed easier from the front, eliminating the problem of not being able to reach them when two boxes are side by side. I also added a small textured pattern to the buttons to make them more tactile. I took the corners off the backplate and instead added them to the chassis insert.


With the physical design finished, I installed all the hardware and test fitted one last time. I printed two more units and installed the hardware so they could be sent to the customer to get approval for mass production. I moved the sheet metal box and pcb's into the assembly, plus whatever other parts that belonged to it like the connector to the main unit.